

To launch a new site, login to your account and navigate to the Sites section from the main menu.
Click Create a new site. You will have 2 steps to complete the creation process.
In the General settings, specify your site's name and choose the subdomain. Indystack will instantly let you know if the subdomain is available.
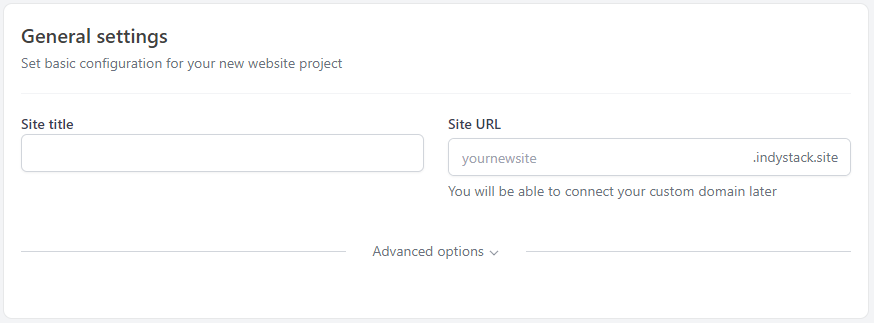
If you want to add your own custom domain - you will be able to do that later.
Please note that a custom domain requires a paid plan to be active and is not available during a 30-day free trial.
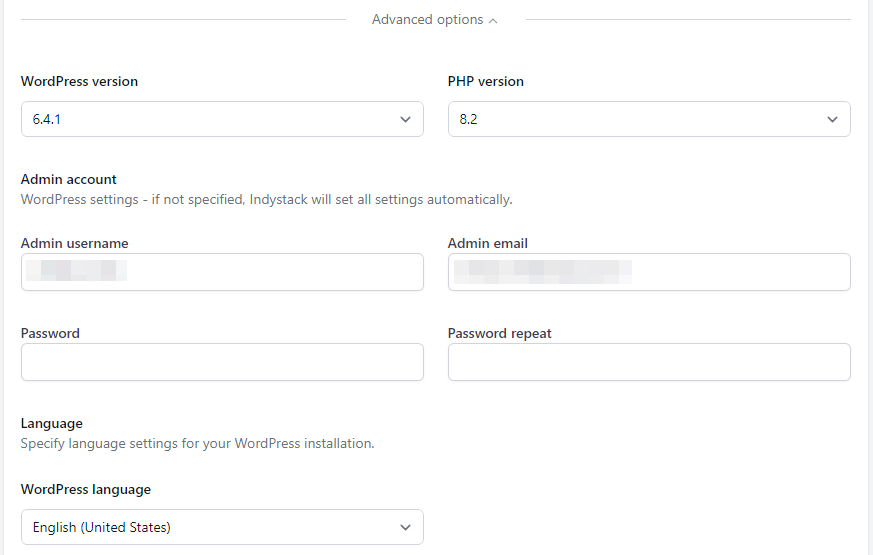
Clicking on Advanced options will open further WordPress and server side related settings. They are not required to launch a site, but here is an overview of the options provided.
When you're ready, Click Continue at the bottom of the page.
In the last step, you need to confirm the building process and your site will be deployed.
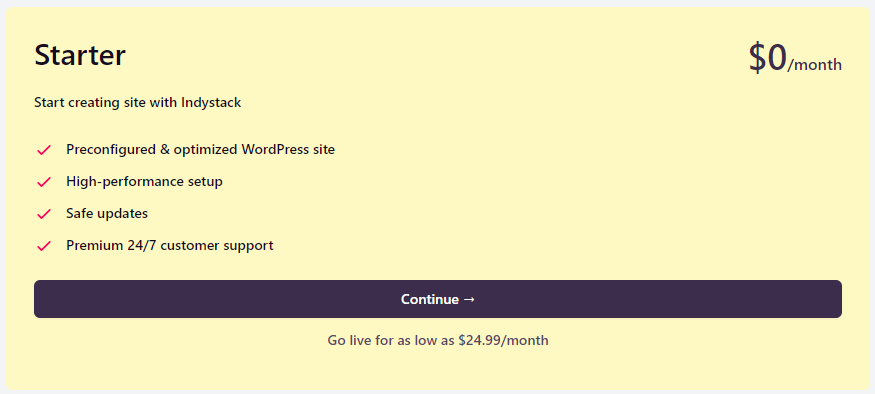
Click Continue to complete the initial setup process. You can add/configure plugins from the WP-admin panel after the site is created.